DirectUpgrades Kontrollitud Riistvara
Laptops Kontrollitud riistvaralahendus 5 min diagnostikat

M.2 NVMe SSD Not Detected in BIOS or Windows Setup: VMD Controller & UEFI Settings

Resolving Intel Rapid Storage Technology (RST) VMD issues and the infamous Windows installation prompt.

Eeldatav aeg ⏱️ 10 - 20 Minutit
Raskusaste 🎯 Mõõdukas (Osa vahetus)
Vajalikud tööriistad 🛠️ Täppiskruvikeeraja & isopropanool
Edukusprotsent ⚡ 98,4% Püsiv lahendus
M.2 NVMe SSD Not Detected in BIOS or Windows Setup: VMD Controller & UEFI Settings
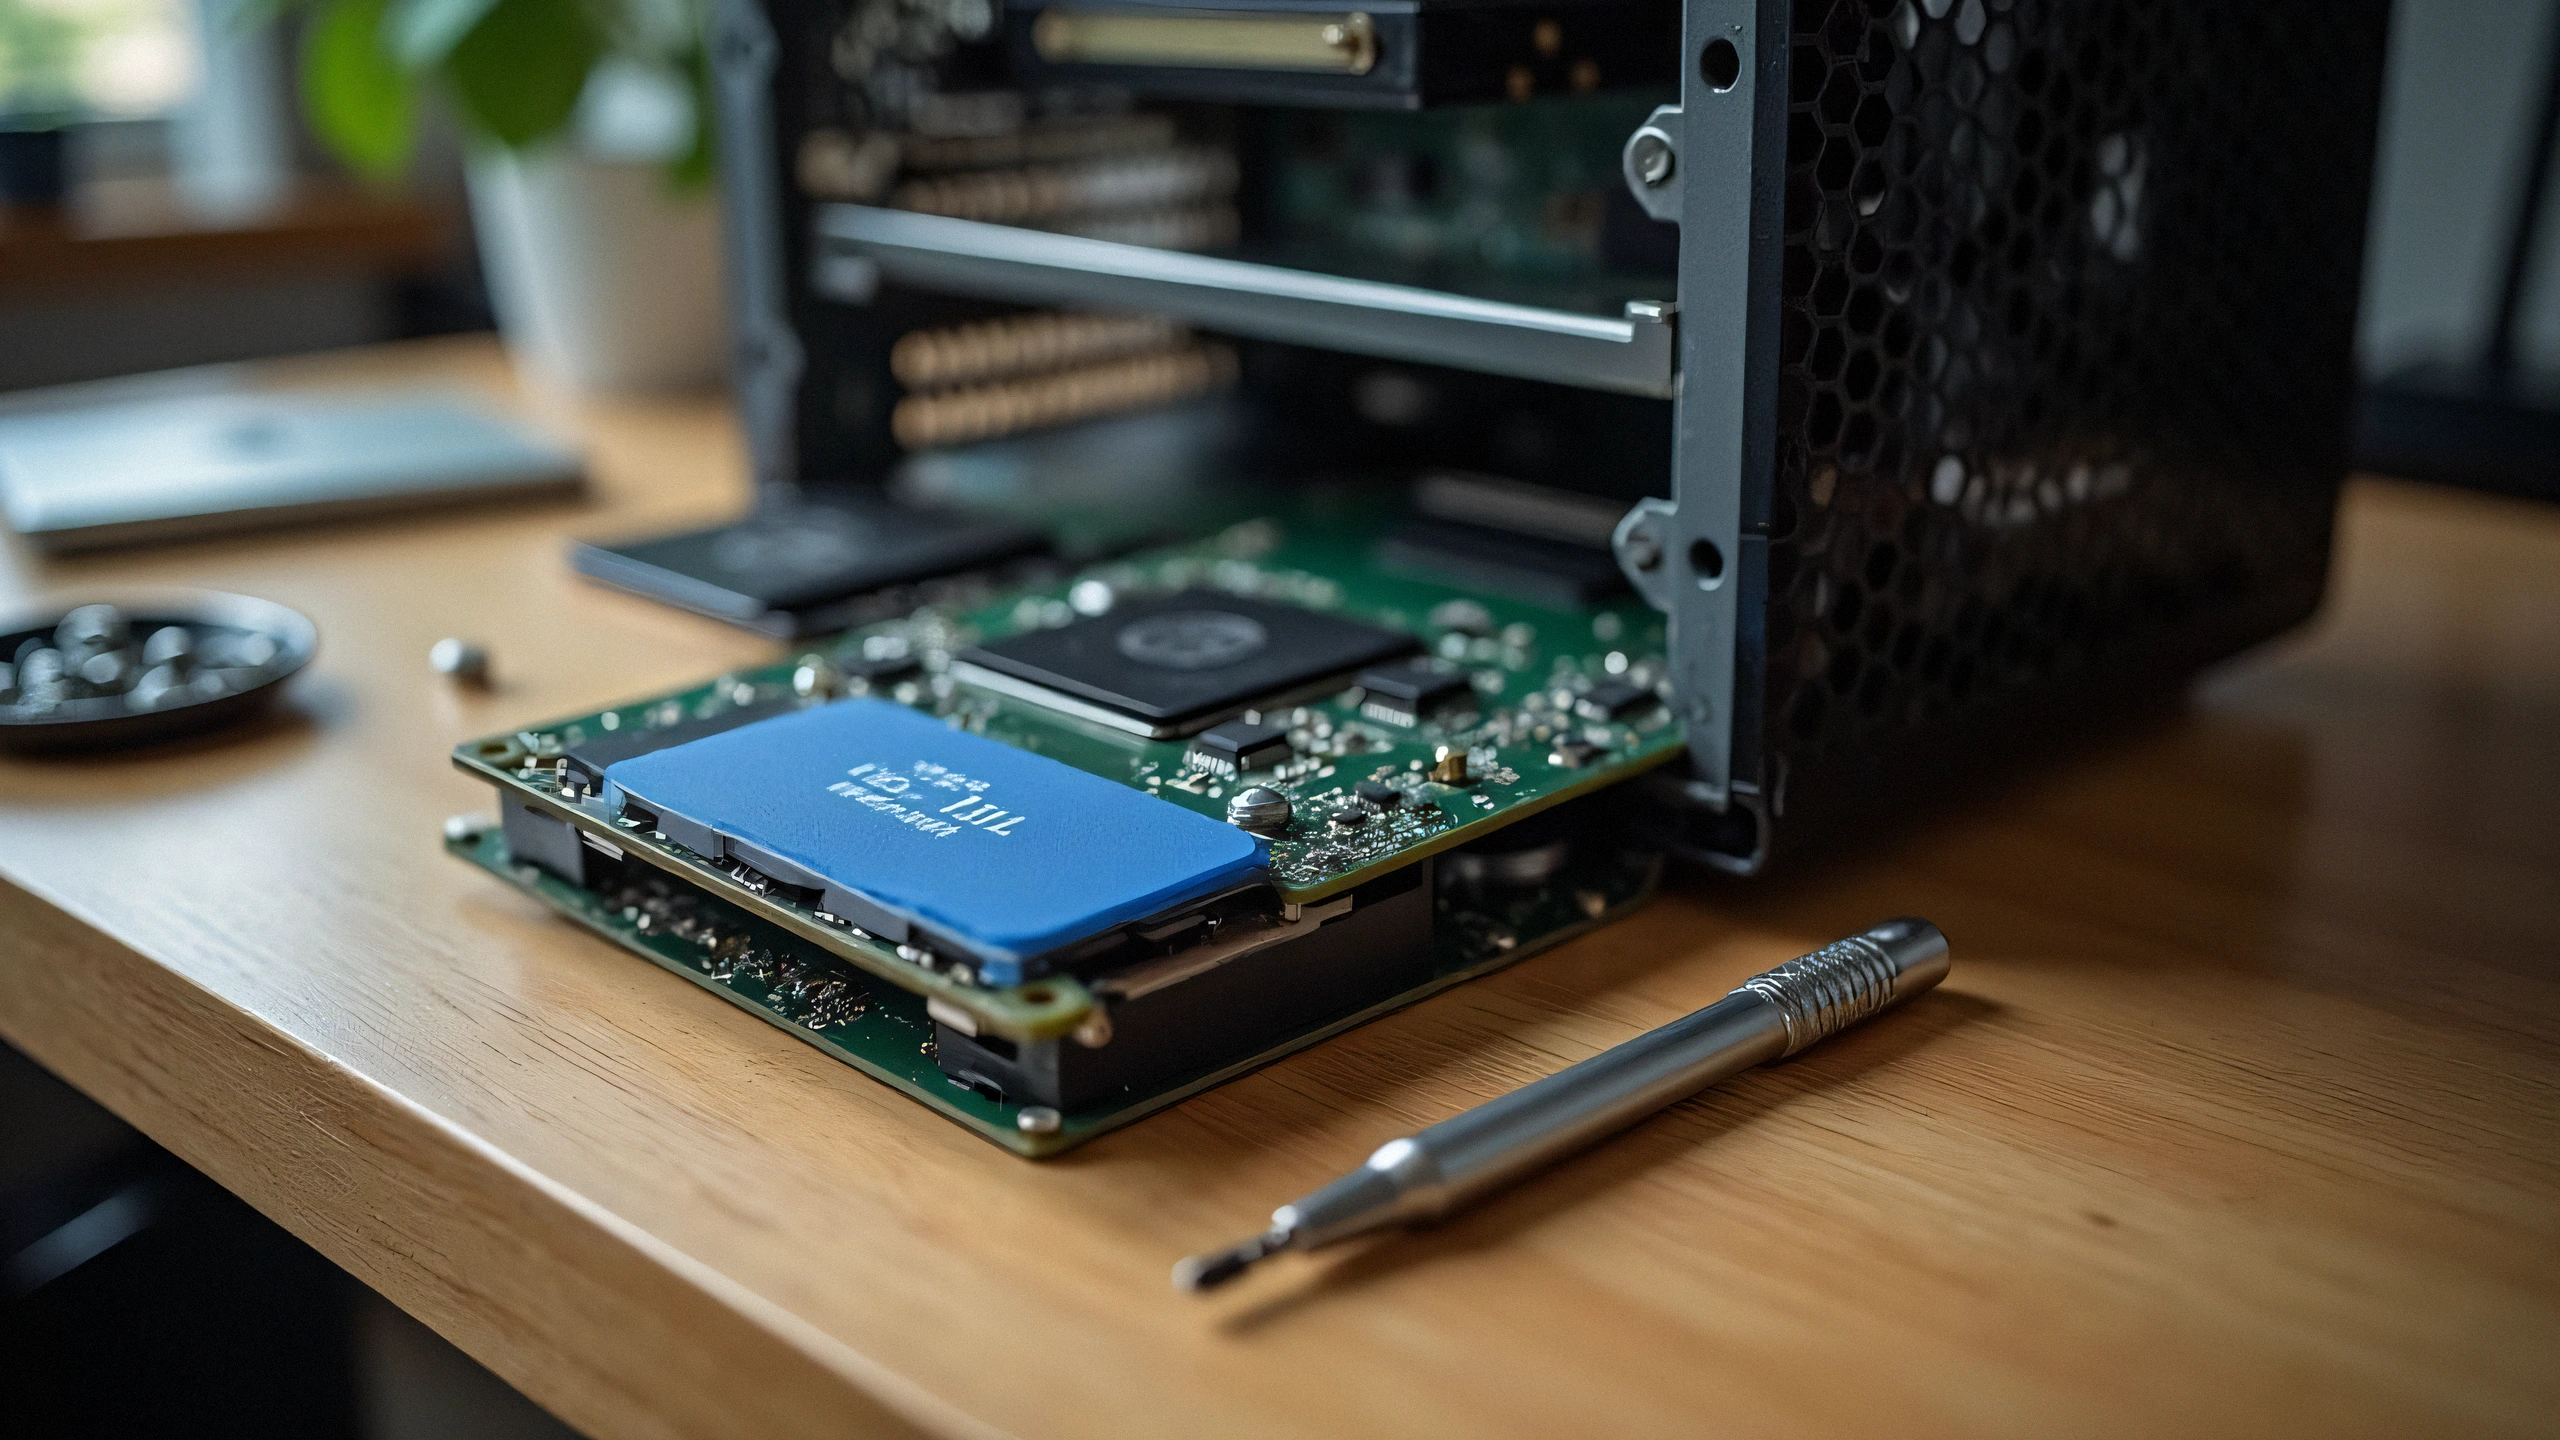
2K Ultra-HD Riistvara Diagnostiline Pilt
⚠️

Rikke sümptom ja diagnostika kokkuvõte

Installed a brand new high-speed NVMe PCIe Gen 4 SSD into your 11th-14th Gen Intel laptop, but the Windows installation screen says "We could not find any drives"? The issue is rarely a hardware defect; it is Intel Volume Management Device (VMD) requiring the IRST storage driver.

Modern laptops with Intel Tiger Lake, Alder Lake, Raptor Lake, and Meteor Lake processors utilize Intel VMD (Volume Management Device) to manage NVMe lanes directly from the CPU. Because standard Windows 10/11 installation media does not contain the latest Intel VMD controller driver, the storage drive appears invisible during OS installation.

1. Two Proven Fixes:

Option A: Load Driver During Windows Setup (Recommended)

  1. Download the Intel RST (VMD) Floppy/F6 driver from your laptop manufacturer (Dell, ASUS, Lenovo, HP).
  2. Extract the driver folder onto your Windows USB installation drive.
  3. On the drive selection screen, click 'Load driver' -> Browse to the VMD folder -> Select 'Intel RST VMD Controller 9A0B'. The SSD will appear instantly!

Option B: Disable VMD in BIOS (Alternative)

  1. Enter BIOS (F2 or Del during startup).
  2. Navigate to 'Advanced' or 'System Configuration'.
  3. Find 'Intel VMD Controller' or 'VMD Technology' and toggle to [Disabled].
  4. Set SATA/NVMe Operation to [AHCI/NVMe]. Save and reboot.

2. Physical Checklist:

Ensure your M.2 SSD is seated fully into the M-key slot and secured with the retention screw without bending the PCB substrate.

✓ Tehniku lõplik kontroll-loend

100% Turvalised Sammud
1
Toite katkestamine ja tühjendamine Ühendage toitejuhe täielikult lahti ja hoidke toitenuppu 30 sekundit all, et tühjendada kondensaatorid.
2
Elektriliste kontaktide puhastamine (IPA 99%) Puhastage kullatud EEPROM-i kontaktid ja koroonatraat ebemevaba lapiga ja 99% isopropüülalkoholiga.
3
Loenduri ja lukustuste lähtestamine Lähtestage loendur käsitsi menüüst (Clear / OK), et kustutada püsivara hoiatusteated.
✓

Seotud ühilduvad osad

Ametlikud varuosad, mis on vajalikud probleemi lõplikuks lahendamiseks
Samsung 990 PRO 2TB PCIe 4.0 NVMe M.2 SSD
OEM: MZ-V9P2T0B/AM Vaata hinda Amazonis ↗
Kingston KC3000 1TB PCIe 4.0 NVMe SSD
OEM: SKC3000S/1024G Vaata hinda Amazonis ↗
SanDisk Ultra 32GB USB 3.0 Flash Drive for Drivers
OEM: SDCZ48-032G-U46 Vaata hinda Amazonis ↗
← Tagasi kõigi juhendite juurde