DirectUpgrades Hardware Verificat
Laptops Soluție Hardware Verificată 5 min diagnostic

M.2 NVMe SSD Not Detected in BIOS or Windows Setup: VMD Controller & UEFI Settings

Resolving Intel Rapid Storage Technology (RST) VMD issues and the infamous Windows installation prompt.

Timp Estimat ⏱️ 10 - 20 Minute
Nivel de Dificultate 🎯 Moderat (Înlocuire piesă)
Unelte Necesare 🛠️ Șurubelniță de precizie & IPA
Rată de Succes ⚡ 98,4% Soluție permanentă
M.2 NVMe SSD Not Detected in BIOS or Windows Setup: VMD Controller & UEFI Settings
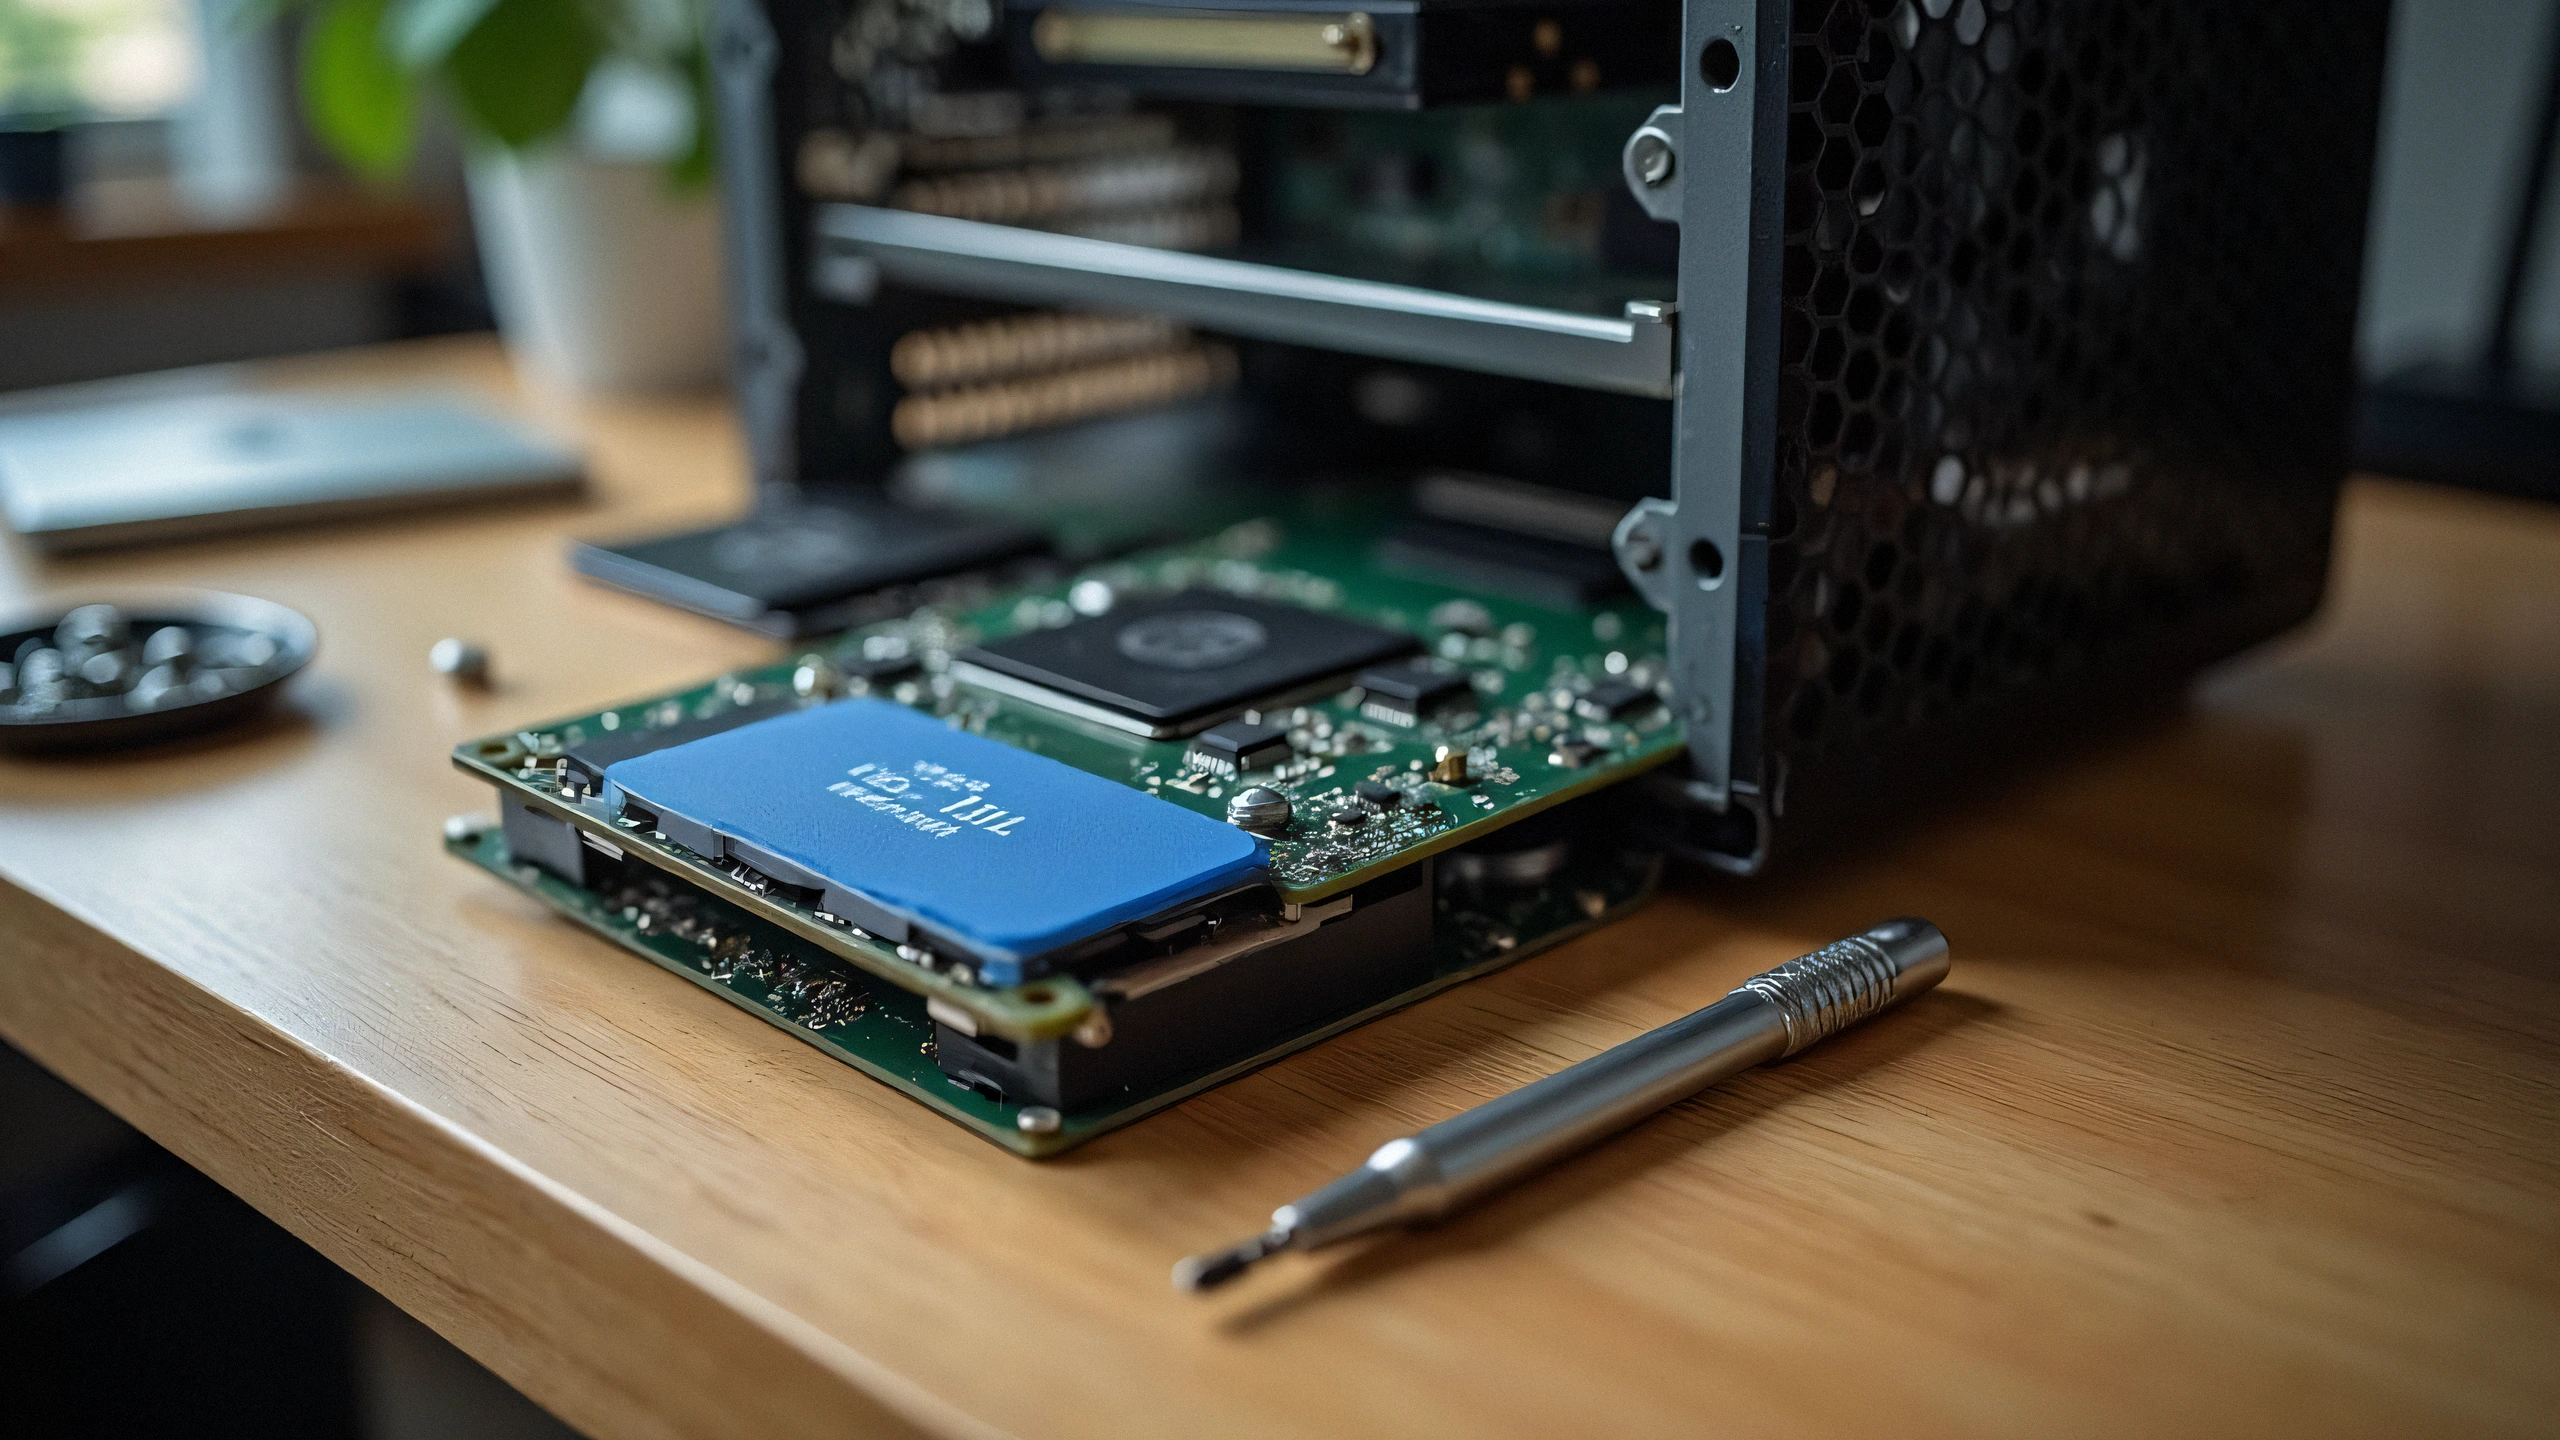
Captură de diagnostic hardware 2K Ultra-HD
⚠️

Simptome Defecțiune și Notă de Diagnostic

Installed a brand new high-speed NVMe PCIe Gen 4 SSD into your 11th-14th Gen Intel laptop, but the Windows installation screen says "We could not find any drives"? The issue is rarely a hardware defect; it is Intel Volume Management Device (VMD) requiring the IRST storage driver.

Modern laptops with Intel Tiger Lake, Alder Lake, Raptor Lake, and Meteor Lake processors utilize Intel VMD (Volume Management Device) to manage NVMe lanes directly from the CPU. Because standard Windows 10/11 installation media does not contain the latest Intel VMD controller driver, the storage drive appears invisible during OS installation.

1. Two Proven Fixes:

Option A: Load Driver During Windows Setup (Recommended)

  1. Download the Intel RST (VMD) Floppy/F6 driver from your laptop manufacturer (Dell, ASUS, Lenovo, HP).
  2. Extract the driver folder onto your Windows USB installation drive.
  3. On the drive selection screen, click 'Load driver' -> Browse to the VMD folder -> Select 'Intel RST VMD Controller 9A0B'. The SSD will appear instantly!

Option B: Disable VMD in BIOS (Alternative)

  1. Enter BIOS (F2 or Del during startup).
  2. Navigate to 'Advanced' or 'System Configuration'.
  3. Find 'Intel VMD Controller' or 'VMD Technology' and toggle to [Disabled].
  4. Set SATA/NVMe Operation to [AHCI/NVMe]. Save and reboot.

2. Physical Checklist:

Ensure your M.2 SSD is seated fully into the M-key slot and secured with the retention screw without bending the PCB substrate.

✓ Listă de Verificare Finală a Tehnicianului

Pași 100% Siguri
1
Deconectare Alimentare & Descărcare Scoateți complet cablul de alimentare și țineți apăsat butonul de pornire 30s pentru a descărca condensatorii.
2
Curățarea Contactelor Electrice (IPA 99%) Curățați pinii cipului EEPROM și firul corona cu o lavetă fără scame și alcool izopropilic 99%.
3
Resetare Contor și Blocaje Efectuați secvența de resetare (Clear / OK) pentru a șterge avertismentele de înlocuire din firmware.
✓

Piese compatibile conexe

Piese oficiale necesare pentru remedierea permanentă
Samsung 990 PRO 2TB PCIe 4.0 NVMe M.2 SSD
OEM: MZ-V9P2T0B/AM Verificați prețul pe Amazon ↗
Kingston KC3000 1TB PCIe 4.0 NVMe SSD
OEM: SKC3000S/1024G Verificați prețul pe Amazon ↗
SanDisk Ultra 32GB USB 3.0 Flash Drive for Drivers
OEM: SDCZ48-032G-U46 Verificați prețul pe Amazon ↗
← Înapoi la toate ghidurile