DirectUpgrades عتاد معتمد وموثق
Laptops حل عتادي معتمد 5 دقيقة تشخيص

M.2 NVMe SSD Not Detected in BIOS or Windows Setup: VMD Controller & UEFI Settings

Resolving Intel Rapid Storage Technology (RST) VMD issues and the infamous Windows installation prompt.

الوقت المقدر ⏱️ 10 - 20 دقائق
مستوى الصعوبة 🎯 متوسط (استبدال قطع)
الأدوات المطلوبة 🛠️ مفك براغي دقيق وكحول IPA
معدل النجاح ⚡ 98.4% حل جذري دائم
M.2 NVMe SSD Not Detected in BIOS or Windows Setup: VMD Controller & UEFI Settings
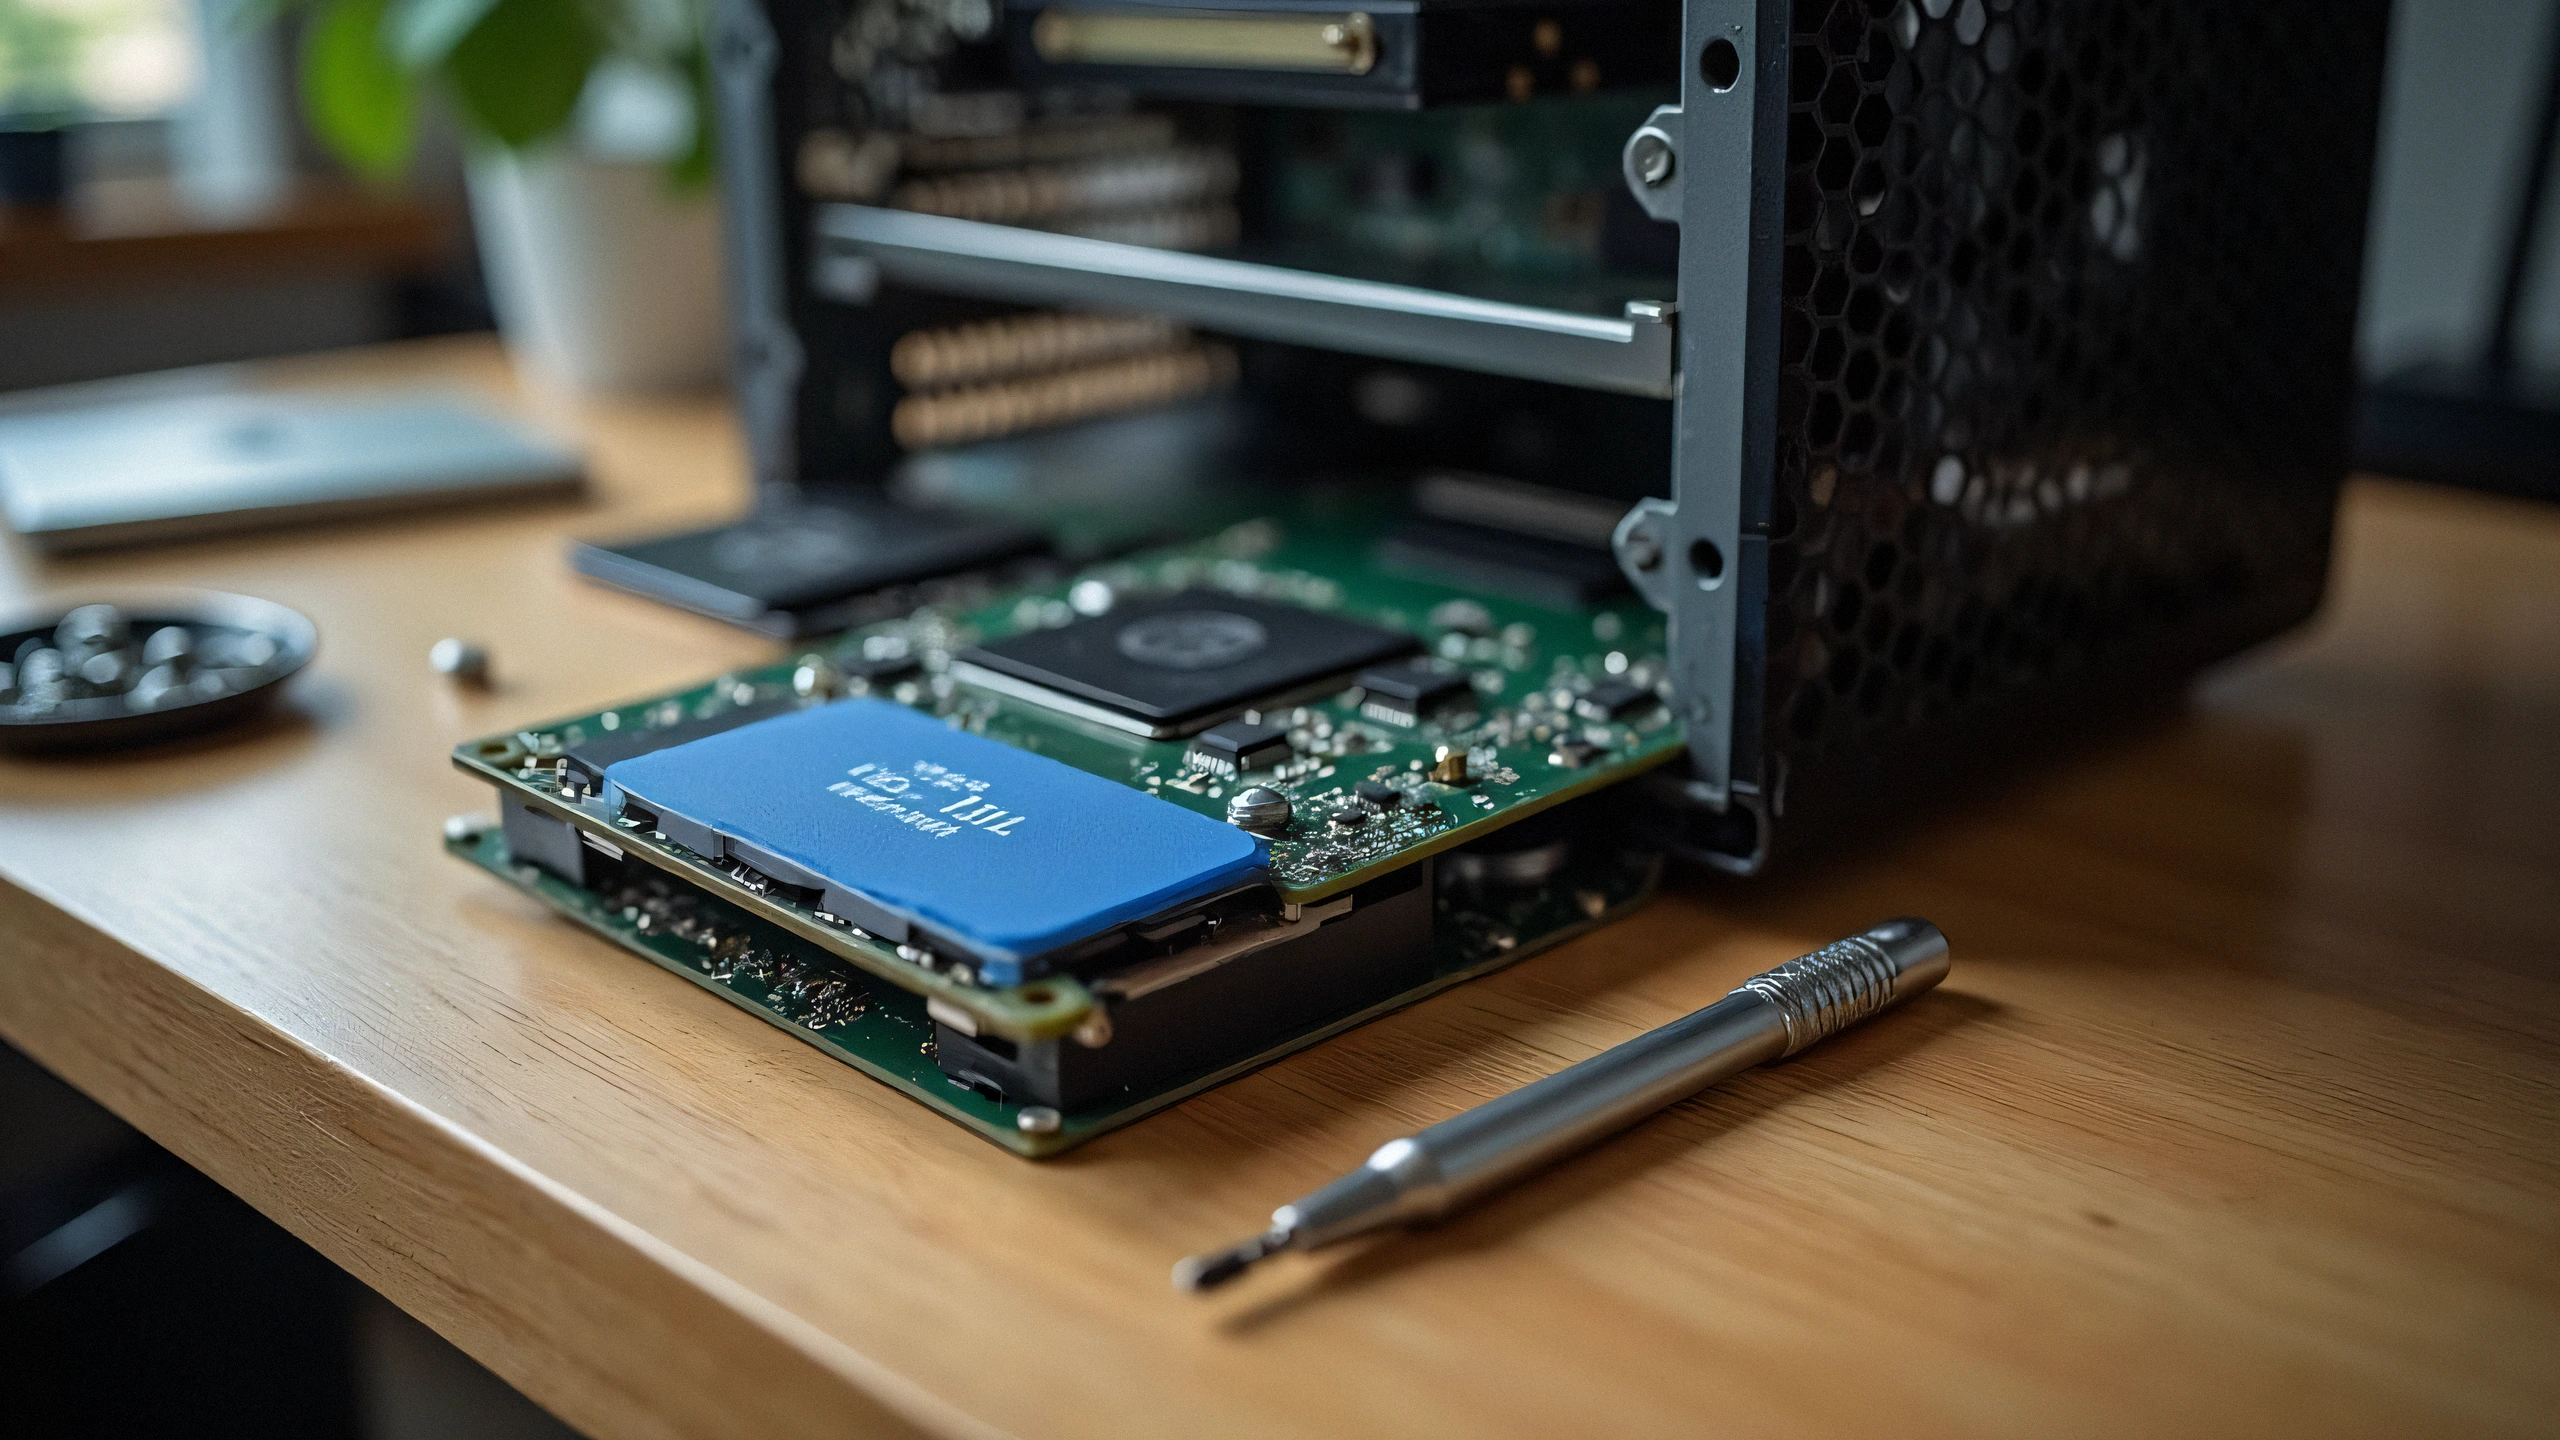
لقطة تشخيص العتاد بدقة 2K فائقة الوضوح
⚠️

أعراض العطل وإشعار التشخيص

Installed a brand new high-speed NVMe PCIe Gen 4 SSD into your 11th-14th Gen Intel laptop, but the Windows installation screen says "We could not find any drives"? The issue is rarely a hardware defect; it is Intel Volume Management Device (VMD) requiring the IRST storage driver.

Modern laptops with Intel Tiger Lake, Alder Lake, Raptor Lake, and Meteor Lake processors utilize Intel VMD (Volume Management Device) to manage NVMe lanes directly from the CPU. Because standard Windows 10/11 installation media does not contain the latest Intel VMD controller driver, the storage drive appears invisible during OS installation.

1. Two Proven Fixes:

Option A: Load Driver During Windows Setup (Recommended)

  1. Download the Intel RST (VMD) Floppy/F6 driver from your laptop manufacturer (Dell, ASUS, Lenovo, HP).
  2. Extract the driver folder onto your Windows USB installation drive.
  3. On the drive selection screen, click 'Load driver' -> Browse to the VMD folder -> Select 'Intel RST VMD Controller 9A0B'. The SSD will appear instantly!

Option B: Disable VMD in BIOS (Alternative)

  1. Enter BIOS (F2 or Del during startup).
  2. Navigate to 'Advanced' or 'System Configuration'.
  3. Find 'Intel VMD Controller' or 'VMD Technology' and toggle to [Disabled].
  4. Set SATA/NVMe Operation to [AHCI/NVMe]. Save and reboot.

2. Physical Checklist:

Ensure your M.2 SSD is seated fully into the M-key slot and secured with the retention screw without bending the PCB substrate.

✓ قائمة التحقق النهائية للفني

خطوات آمنة 100%
1
فصل الطاقة والتفريغ الكهربائي افصل كابل الطاقة تماماً واضغط باستمرار على زر الطاقة لمدة 30 ثانية لتفريغ المكثفات.
2
تنظيف نقاط التلامس الكهربائية نظف دبابيس شريحة الذاكرة وأسلاك الكورونا بقطعة قماش خالية من الوبر وكحول الأيزوبروبيل 99%.
3
إعادة ضبط العداد والأقفال قم بإجراء تسلسل إعادة الضبط اليدوي لمسح تحذيرات استبدال البرامج الثابتة.
✓

قطع غيار متوافقة ذات صلة

القطع المعتمدة المطلوبة للحل النهائي
Samsung 990 PRO 2TB PCIe 4.0 NVMe M.2 SSD
OEM: MZ-V9P2T0B/AM تحقق من السعر على أمازون ↗
Kingston KC3000 1TB PCIe 4.0 NVMe SSD
OEM: SKC3000S/1024G تحقق من السعر على أمازون ↗
SanDisk Ultra 32GB USB 3.0 Flash Drive for Drivers
OEM: SDCZ48-032G-U46 تحقق من السعر على أمازون ↗
← العودة إلى جميع الأدلة