DirectUpgrades 検証済みハードウェア
Laptops 実機検証済みハードウェア解決策 5 分で診断完了

M.2 NVMe SSD Not Detected in BIOS or Windows Setup: VMD Controller & UEFI Settings

Resolving Intel Rapid Storage Technology (RST) VMD issues and the infamous Windows installation prompt.

所要時間の目安 ⏱️ 10 - 20 分
難易度 🎯 中級(パーツ交換)
必要な工具 🛠️ 精密ドライバー・無水エタノール
解決成功率 ⚡ 98.4% 確実な解決
M.2 NVMe SSD Not Detected in BIOS or Windows Setup: VMD Controller & UEFI Settings
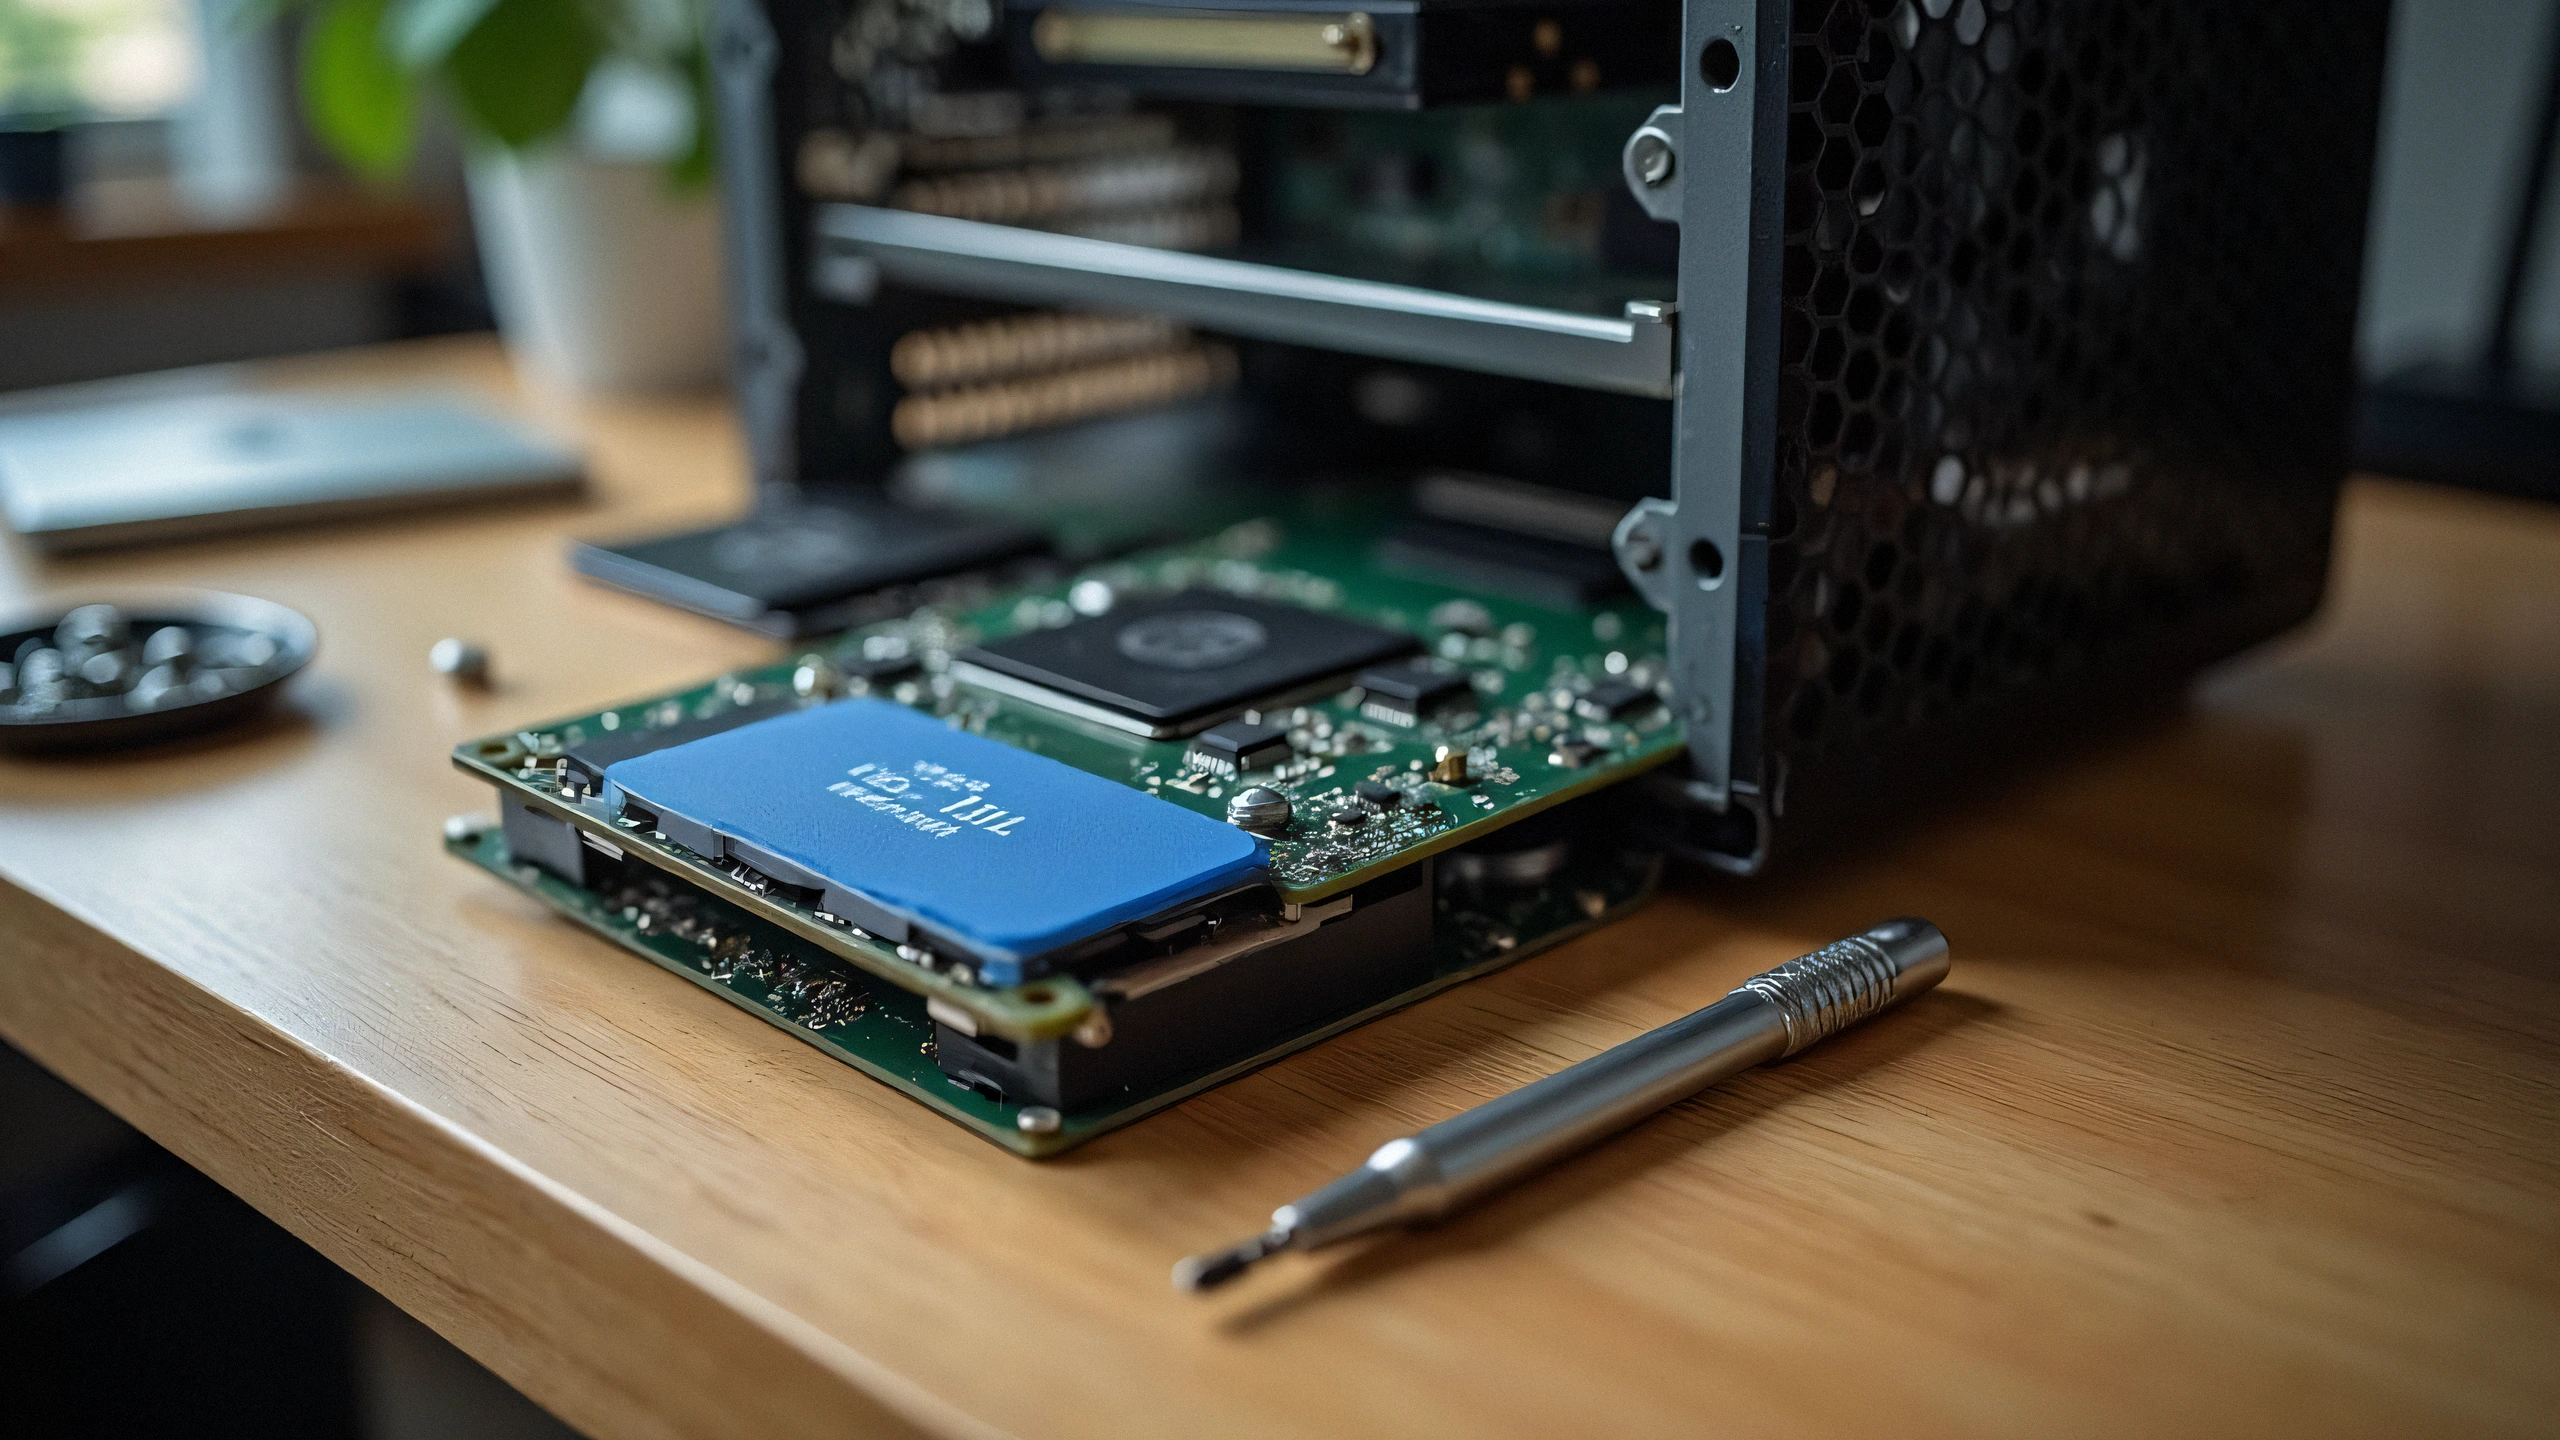
2K Ultra-HD ハードウェア診断画像
⚠️

故障症状と原因診断サマリー

Installed a brand new high-speed NVMe PCIe Gen 4 SSD into your 11th-14th Gen Intel laptop, but the Windows installation screen says "We could not find any drives"? The issue is rarely a hardware defect; it is Intel Volume Management Device (VMD) requiring the IRST storage driver.

Modern laptops with Intel Tiger Lake, Alder Lake, Raptor Lake, and Meteor Lake processors utilize Intel VMD (Volume Management Device) to manage NVMe lanes directly from the CPU. Because standard Windows 10/11 installation media does not contain the latest Intel VMD controller driver, the storage drive appears invisible during OS installation.

1. Two Proven Fixes:

Option A: Load Driver During Windows Setup (Recommended)

  1. Download the Intel RST (VMD) Floppy/F6 driver from your laptop manufacturer (Dell, ASUS, Lenovo, HP).
  2. Extract the driver folder onto your Windows USB installation drive.
  3. On the drive selection screen, click 'Load driver' -> Browse to the VMD folder -> Select 'Intel RST VMD Controller 9A0B'. The SSD will appear instantly!

Option B: Disable VMD in BIOS (Alternative)

  1. Enter BIOS (F2 or Del during startup).
  2. Navigate to 'Advanced' or 'System Configuration'.
  3. Find 'Intel VMD Controller' or 'VMD Technology' and toggle to [Disabled].
  4. Set SATA/NVMe Operation to [AHCI/NVMe]. Save and reboot.

2. Physical Checklist:

Ensure your M.2 SSD is seated fully into the M-key slot and secured with the retention screw without bending the PCB substrate.

✓ 技術者による最終チェックリスト

100% 安全手順
1
電源遮断および残留電荷放電 電源ケーブルをコンセントから抜き、電源ボタンを30秒間長押しして内部コンデンサの残留電荷を完全放電してください。
2
電極ピンおよび光学接点の清掃 (無水エタノール) 金メッキされたEEPROM端子やコロナワイヤー周辺を、毛羽立たないクロスと高純度無水エタノールで優しく拭き取ってください。
3
カウンターリセット&エラー解除手順 交換完了後、プリンター本体の操作パネル(Clear / OK / ギア復帰)からカウンターリセットを必ず実行してください。
✓

関連する適合パーツ

根本解決に必要なメーカー純正・認定部品
Samsung 990 PRO 2TB PCIe 4.0 NVMe M.2 SSD
OEM: MZ-V9P2T0B/AM Amazonで価格を確認 ↗
Kingston KC3000 1TB PCIe 4.0 NVMe SSD
OEM: SKC3000S/1024G Amazonで価格を確認 ↗
SanDisk Ultra 32GB USB 3.0 Flash Drive for Drivers
OEM: SDCZ48-032G-U46 Amazonで価格を確認 ↗
← すべてのガイドに戻る